Although many people think of their gapped or overcrowded teeth as mere aesthetic concerns, the truth is that dental misalignments can also damage your oral health. For instance, it’s harder to clean your teeth if they overlap, increasing your vulnerability to cavities and gum disease.
Fortunately, your orthodontist can reposition your grin with Invisalign. Unlike standard braces, this clear alternative uses transparent plastic trays to gently shift your teeth to their ideal places. If you’re unsure what’s involved in this treatment, continue reading to learn more about the step-by-step process of Invisalign!
Step #1: Consultation
Before proceeding, you must consult with your provider to determine if it’s the best way to meet your individual needs. They will examine your mouth and discuss your concerns and smile goals to verify whether you’re a good candidate. If you have severe bite misalignments or rotated teeth, they might recommend traditional orthodontics.
Step #2: Making Impressions
If you’re approved for Invisalign, your orthodontist will take digital images and scans of your teeth and gums to create a virtual model of your mouth. This is sent to special Invisalign software to build your series of aligners. Each pair of trays typically shifts your teeth about 1/10mm, so you’ll require many sets to complete your treatment from start to finish.
Step #3: Receiving Your Aligners
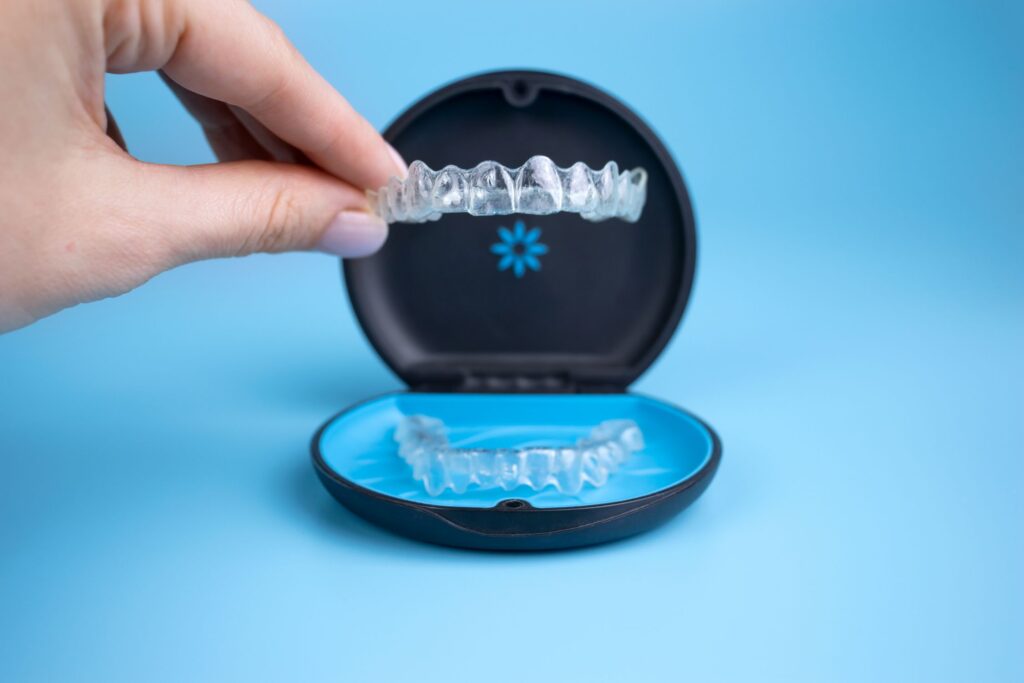
It often takes a couple of weeks for your Invisalign to be delivered to your orthodontist. When they do, you’ll be scheduled for another visit to place any ‘buttons’ if your treatment calls for them. This involves bonding a small amount of clear resin on your enamel to provide an additional anchor for your trays.
Then, your provider will discuss your treatment timeline and share instructions on how to insert, remove, and care for your trays. Each set is worn for 20 to 22 hours daily, so you should only take them out for meals and cleanings. Then, after a week or two, you’ll switch to the next pair to account for the ongoing movement of your teeth.
Step #4: Follow-Up Visits
You’ll need to schedule regular follow-up appointments with your provider throughout your treatment so they can monitor your progress and give you your next set of aligners to wear. Thankfully, these visits are typically brief and can sometimes be completed in as few as 15 minutes.
Most patients start to see changes within 2 weeks and finish treatment within 12 to 18 months. Then you may be required to wear a retainer to keep your teeth in their updated positions long enough for your mouth to adjust to the changes.
Once it’s all completed, you’ll have a beautifully straight smile that can contribute to improved oral health!
Meet the Author
Dr. Megan Hanson is passionate about improving patients’ lives by enhancing their dental condition. She earned her Doctor of Dental Surgery from the University of Texas School of Dentistry at Houston. She then completed a two-year orthodontic residency and earned a Master of Science in Dentistry and a Certificate in Orthodontics. Today, she offers various services to people of all ages to straighten their smiles, improve their oral health, and boost their self-esteem. You can request an appointment on the website or call (972) 727-1153.